Canning 101: A Beginner’s Guide to Vegetarian Preservation
Understanding the Basics of Canning
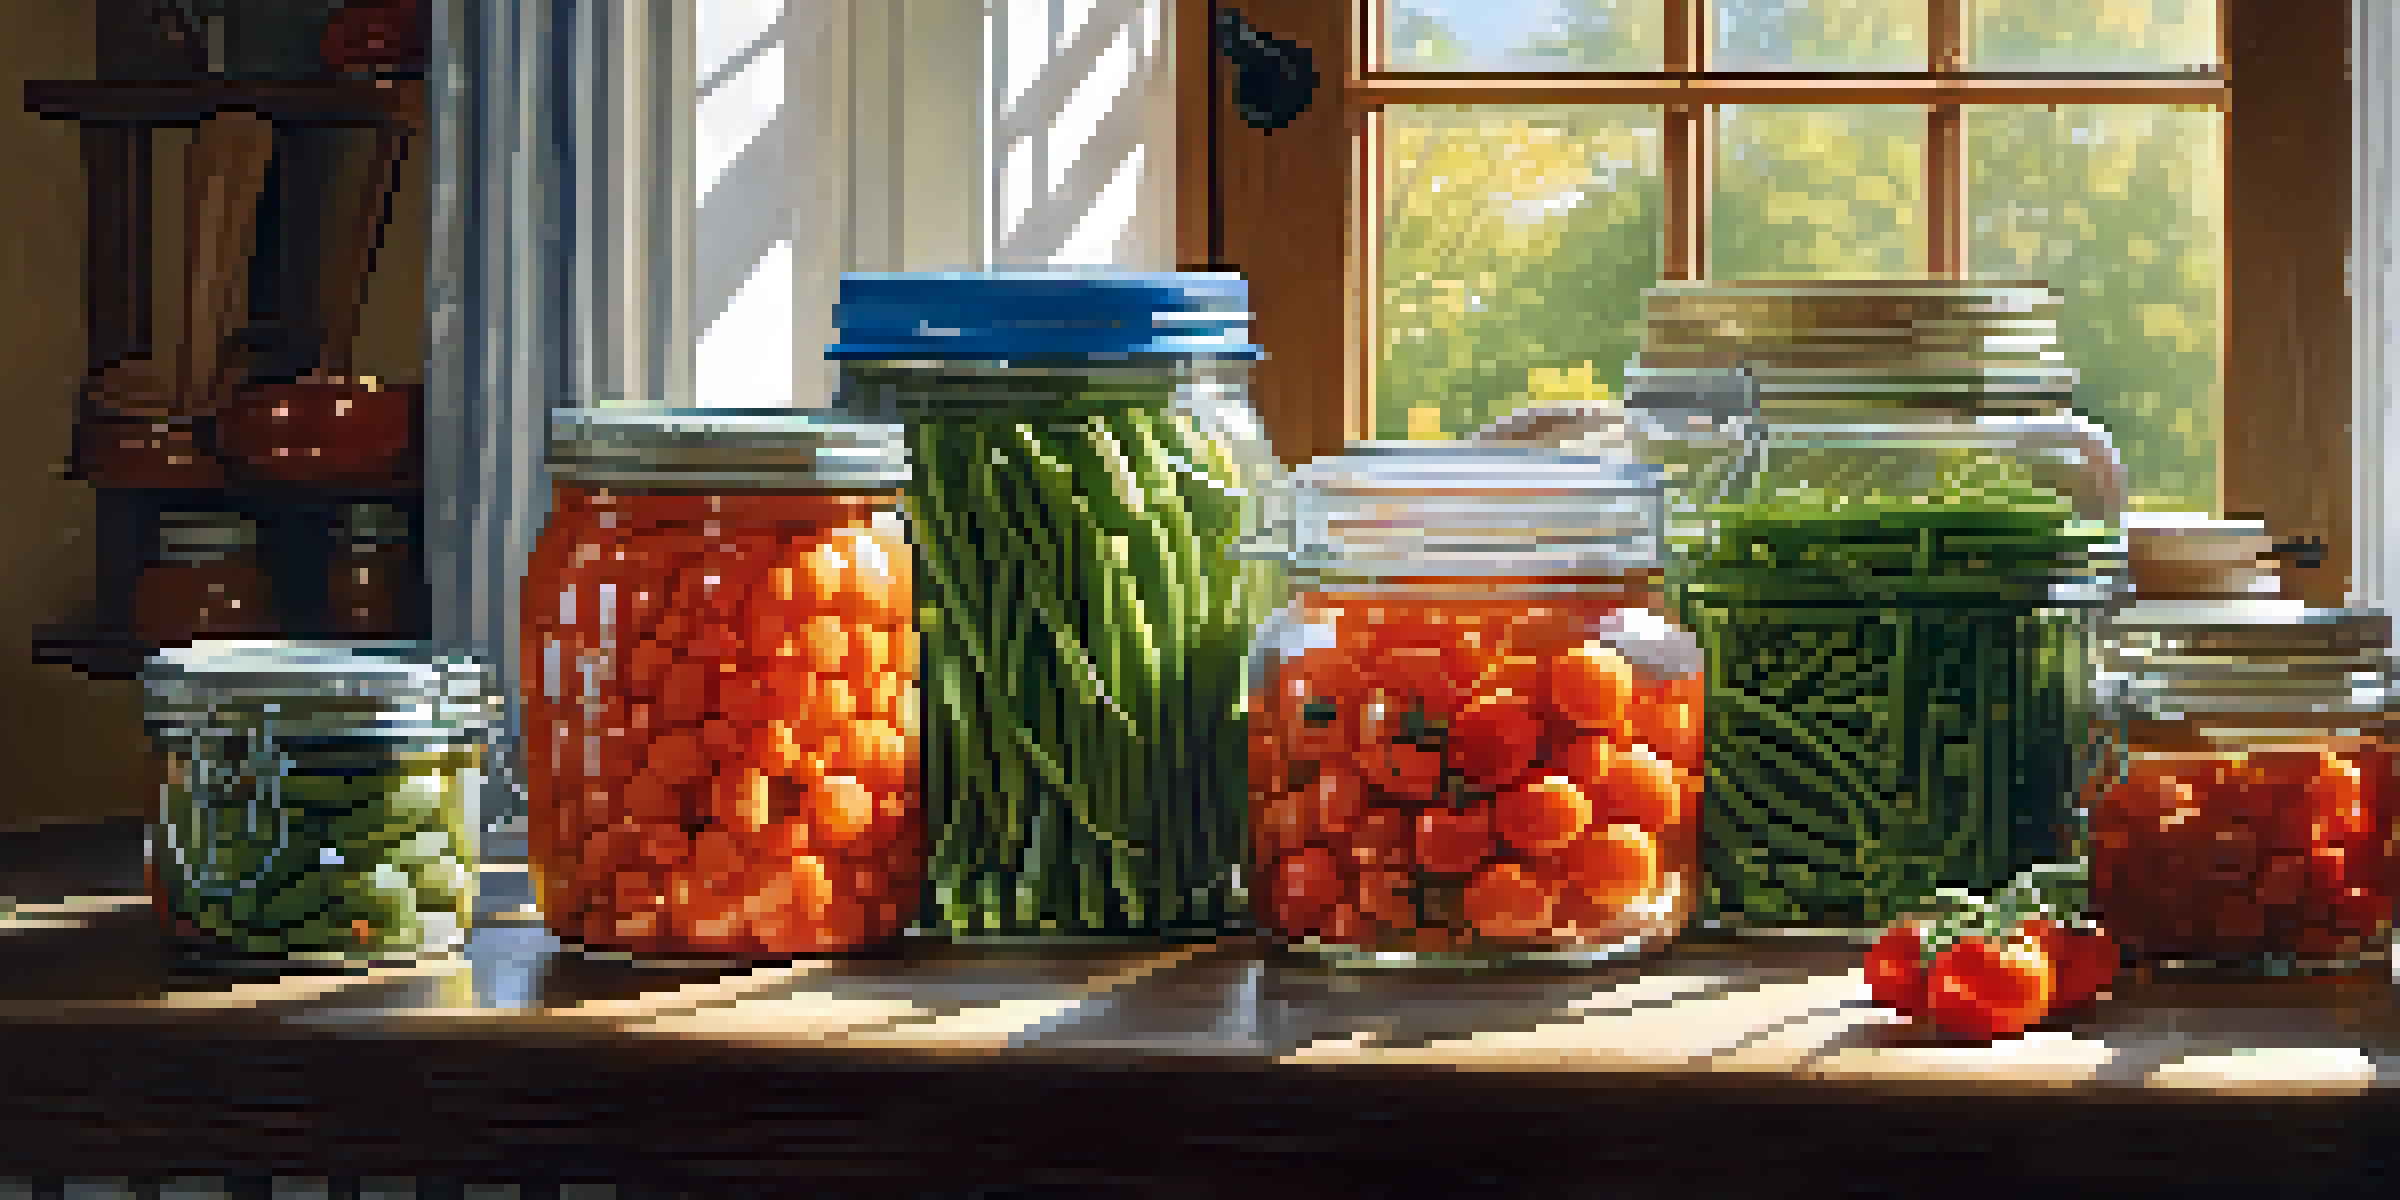
Canning is a method of preserving food by sealing it in airtight containers. This process allows you to enjoy seasonal fruits and vegetables long after their harvest. By understanding the basics, you can dive into a rewarding hobby that not only saves money but also enhances your culinary skills.
Canning is a great way to preserve the harvest and share the bounty with friends and family.
At its core, canning involves heating food to kill bacteria, yeasts, and molds that can spoil it. The sealed environment prevents new microorganisms from getting in, ensuring your food stays safe and tasty for months. As a beginner, it’s essential to familiarize yourself with the different canning methods, primarily water bath canning and pressure canning.
Water bath canning is suitable for high-acid foods like tomatoes and pickles, while pressure canning is necessary for low-acid foods like vegetables and legumes. Knowing which method to use is crucial for successful preservation, so take your time to learn and prepare.
Essential Equipment for Canning Success
Before you start canning, gather the essential equipment to make the process smooth and efficient. The basic tools include canning jars, lids, a canning pot, a jar lifter, and a funnel. These items ensure that your canning experience is not only safe but also enjoyable.
Canning jars come in various sizes and should be specifically designed for canning. Regular glass jars may not withstand the heat or pressure of the canning process. Lids are equally important; they create the airtight seal needed to keep your food fresh, so make sure to use new lids for each batch.
Canning Basics for Beginners
Understanding the different canning methods, such as water bath and pressure canning, is essential for safe food preservation.
Investing in a quality canning pot, preferably with a rack, will help you manage multiple jars at once. The jar lifter is a handy tool to safely remove hot jars from boiling water, while a funnel ensures that you fill your jars without making a mess. With the right equipment, you’ll be set for canning success!
Choosing the Right Vegetables for Canning
When it comes to canning, not all vegetables are created equal. Opt for fresh, in-season produce to maximize flavor and nutritional value. Vegetables such as green beans, carrots, and corn are popular choices for beginners, as they can be preserved easily and taste delicious.
The art of canning is not just about preservation, but about creating memories and sharing delicious meals.
It's also important to consider the acidity level of your vegetables. High-acid foods are perfect for water bath canning, while low-acid vegetables require a pressure canner for safe preservation. Make sure to research which vegetables fall into each category to ensure your canning process is safe.
As you gain confidence, consider experimenting with combinations of vegetables, or even make your own pickled versions. The possibilities are endless, and each jar can tell a delicious story of your culinary adventures!
Preparing Vegetables for Canning
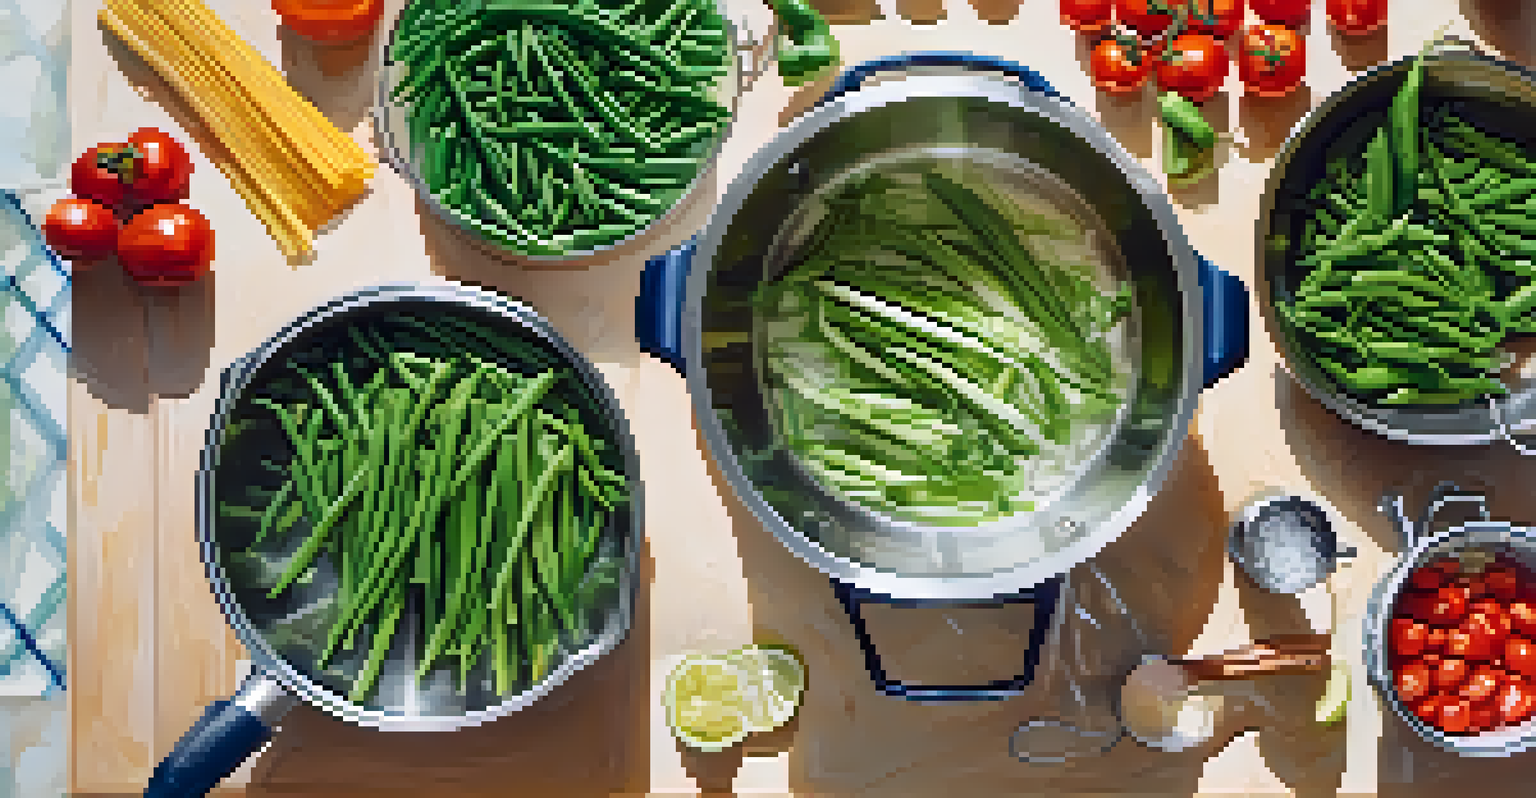
Preparation is key in the canning process, and that starts with cleaning your vegetables thoroughly. Rinse them under cold water to remove any dirt and impurities, ensuring you start with the freshest ingredients. For some vegetables, like green beans, you’ll need to trim them to the desired size before canning.
Next, blanching is a crucial step for many vegetables. This involves briefly boiling them before plunging them into ice water. Blanching helps preserve color, texture, and flavor, while also making it easier to peel certain vegetables, such as tomatoes.
Essential Canning Equipment
Gathering the right tools, including canning jars, lids, and a canning pot, ensures a smooth and safe canning process.
Once your vegetables are prepared, it’s time to pack them into jars. Make sure to leave enough headspace—usually about half an inch—at the top of the jar to allow for expansion during the canning process. Attention to detail in this step can make a big difference in the final outcome!
The Canning Process: Step by Step
Now that you have your equipment ready and vegetables prepared, it’s time to dive into the canning process itself. Begin by sterilizing your jars and lids in boiling water. This step is crucial to prevent contamination and spoilage.
Once your jars are sterilized, fill them with the prepared vegetables, leaving the appropriate headspace. Afterward, pour in any necessary liquid, such as brine or water, to cover the vegetables completely. Wipe the rims of the jars with a clean cloth to ensure a good seal before placing the lids on top.
Finally, process your jars in the canning pot according to the specific time required for each type of vegetable. This is where the magic happens! After processing, let the jars cool completely, and you’ll hear that satisfying “pop” sound as they seal.
Storing Your Canned Vegetables Safely
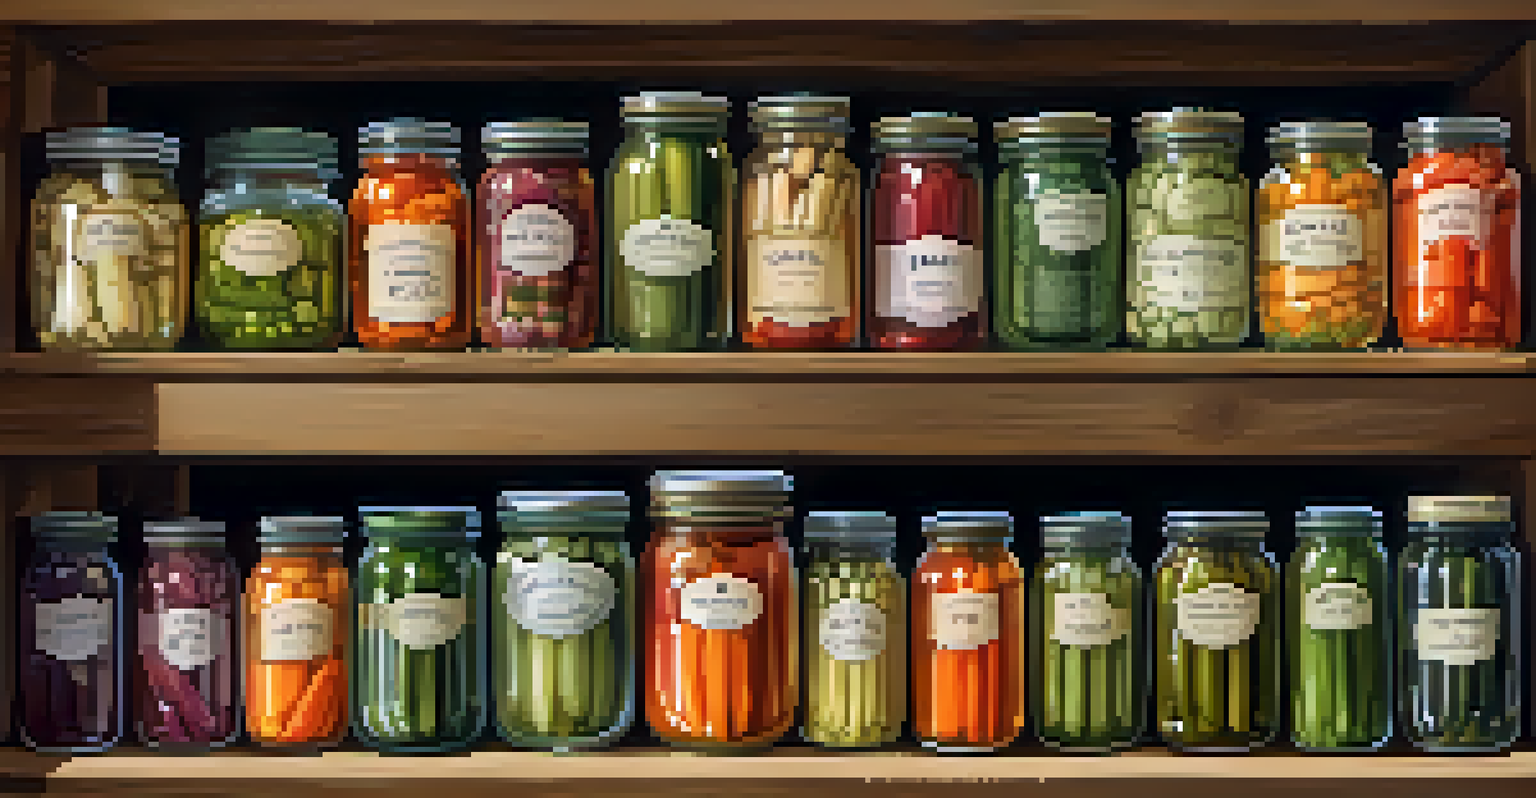
Once your jars are sealed and cooled, it’s important to store them properly to ensure longevity. Keep your canned goods in a cool, dark place, such as a pantry or cupboard. Avoid areas with fluctuating temperatures or direct sunlight, which can compromise the seal.
Labeling your jars with the date and contents is a handy practice that will help you keep track of what you have and when you canned it. It also makes it easier to rotate your stock, ensuring that older jars are used first, minimizing waste.
Storage and Enjoyment Tips
Properly storing your canned goods and labeling them helps maintain their quality and makes it easy to enjoy your homemade delights.
Regularly check your jars for any signs of spoilage, such as bulging lids or strange odors. If you spot any issues, it’s best to err on the side of caution and discard the jar. With proper storage, your canned vegetables can last for up to a year or more!
Enjoying Your Home-Canned Delights
The best part of canning is finally enjoying the fruits of your labor. Whether you’re adding your home-canned vegetables to soups, stews, or salads, you'll experience a delightful burst of flavor that store-bought alternatives simply can’t match. It’s a great way to add variety to your meals throughout the year.
You can also get creative in the kitchen by using your canned goods in new recipes. Consider whipping up a hearty vegetable soup or a refreshing salad with your preserved produce. The options are endless, and each dish can become a conversation starter.
Sharing your homemade canned goods with friends and family can also be a rewarding experience. Consider gifting jars for holidays or special occasions. Not only do you get to share your culinary creations, but you also spread the joy of healthy eating with others!