The Basics of Fermenting Vegetables at Home: A Beginner's Guide
Understanding Fermentation: The Science Behind It
Fermentation is a natural process where microorganisms like bacteria and yeast convert sugars into acids or alcohol. This not only preserves food but also enhances its flavor and nutrition. Think of it as nature's way of turning ordinary vegetables into something extraordinary.
Fermentation is the ultimate form of self-reliance, a way to preserve food and transform it into something nutritious and delicious.
During fermentation, beneficial bacteria proliferate, creating an environment that inhibits harmful bacteria. This is why fermented foods, such as sauerkraut and kimchi, are not only tangy and delicious but also packed with probiotics that can boost gut health. It’s like giving your body a little army of good bacteria!
By understanding this process, you can appreciate the art of fermenting your own vegetables at home. It’s not just about making food last longer; it's about making it healthier and tastier, too. So, let’s dig deeper into how you can get started!
Essential Equipment for Home Fermentation
Before you start fermenting, it’s important to gather the right tools. At the very least, you’ll need a clean glass jar, some weights to keep your veggies submerged, and a lid or cloth to cover the jar. These tools help create the right conditions for fermentation while keeping unwanted contaminants out.
You might also consider investing in a fermentation crock or airlock system if you find yourself hooked on this culinary adventure. These specialized containers help manage gases released during the process, ensuring a successful fermentation every time. They’re a bit of an investment, but they can make the process smoother and more fun.
Fermentation Boosts Health & Flavor
Fermentation transforms ordinary foods into nutritious and flavorful options while promoting beneficial gut bacteria.
Remember, you don’t need fancy equipment to start; many home fermenters simply use what they have on hand. The goal is to create a safe environment for your veggies to ferment and thrive, so don’t be afraid to get creative!
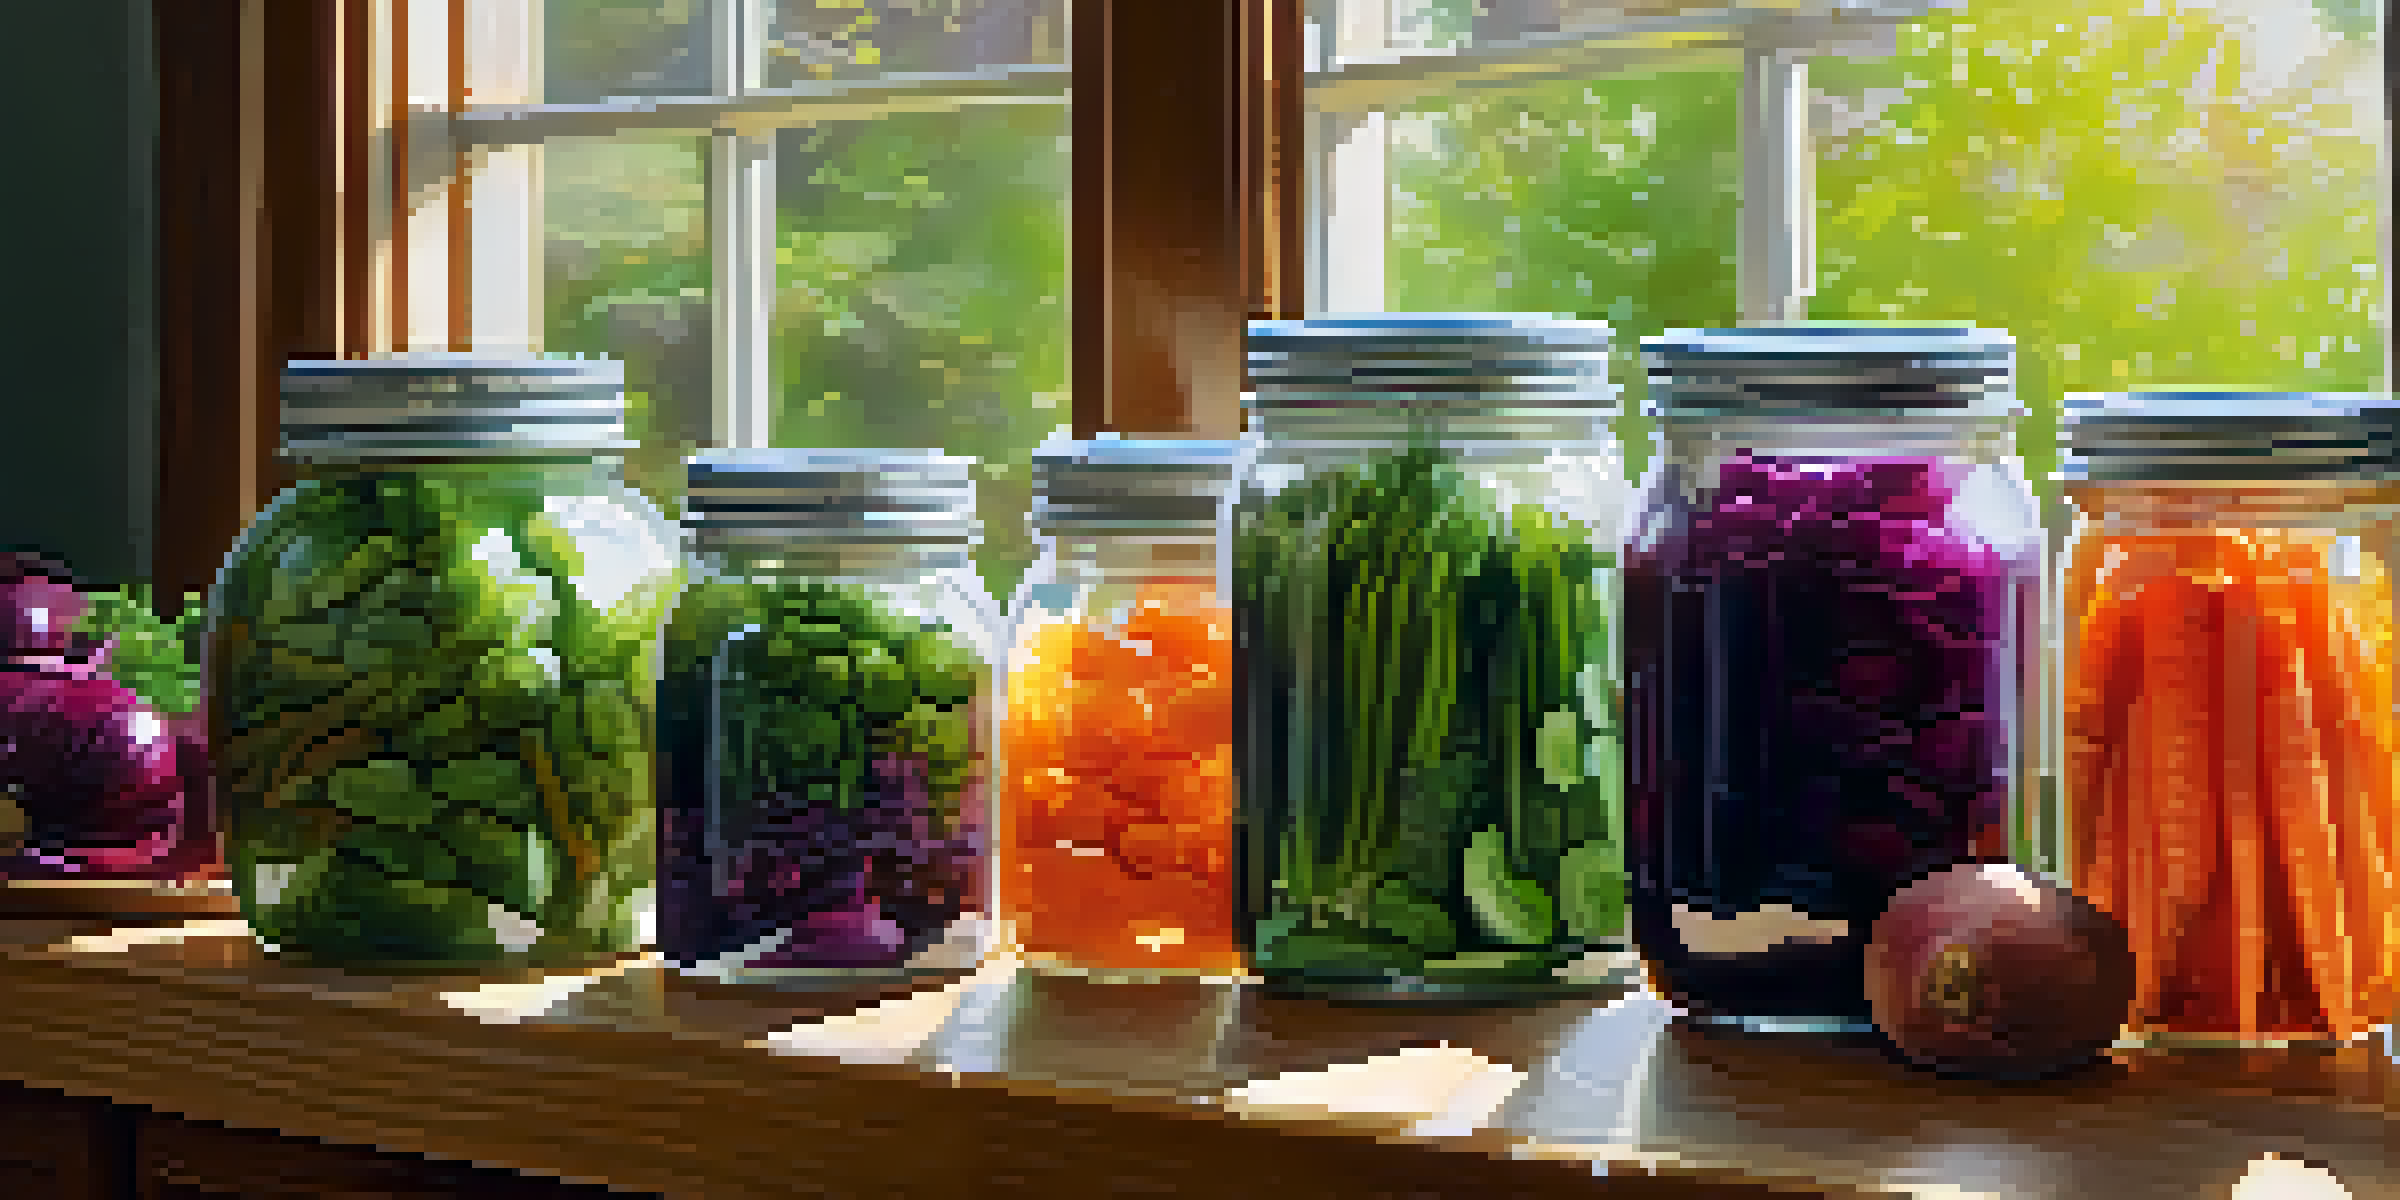
Choosing the Right Vegetables for Fermentation
Not all vegetables are created equal when it comes to fermentation, but many of your favorites can work wonderfully. Cabbage, carrots, and radishes are popular choices that ferment beautifully and develop rich flavors. They also have the right balance of sugars and fibers needed for successful fermentation.
The act of fermentation is a way of connecting with our ancestors, as they too relied on this process to enhance and preserve their food.
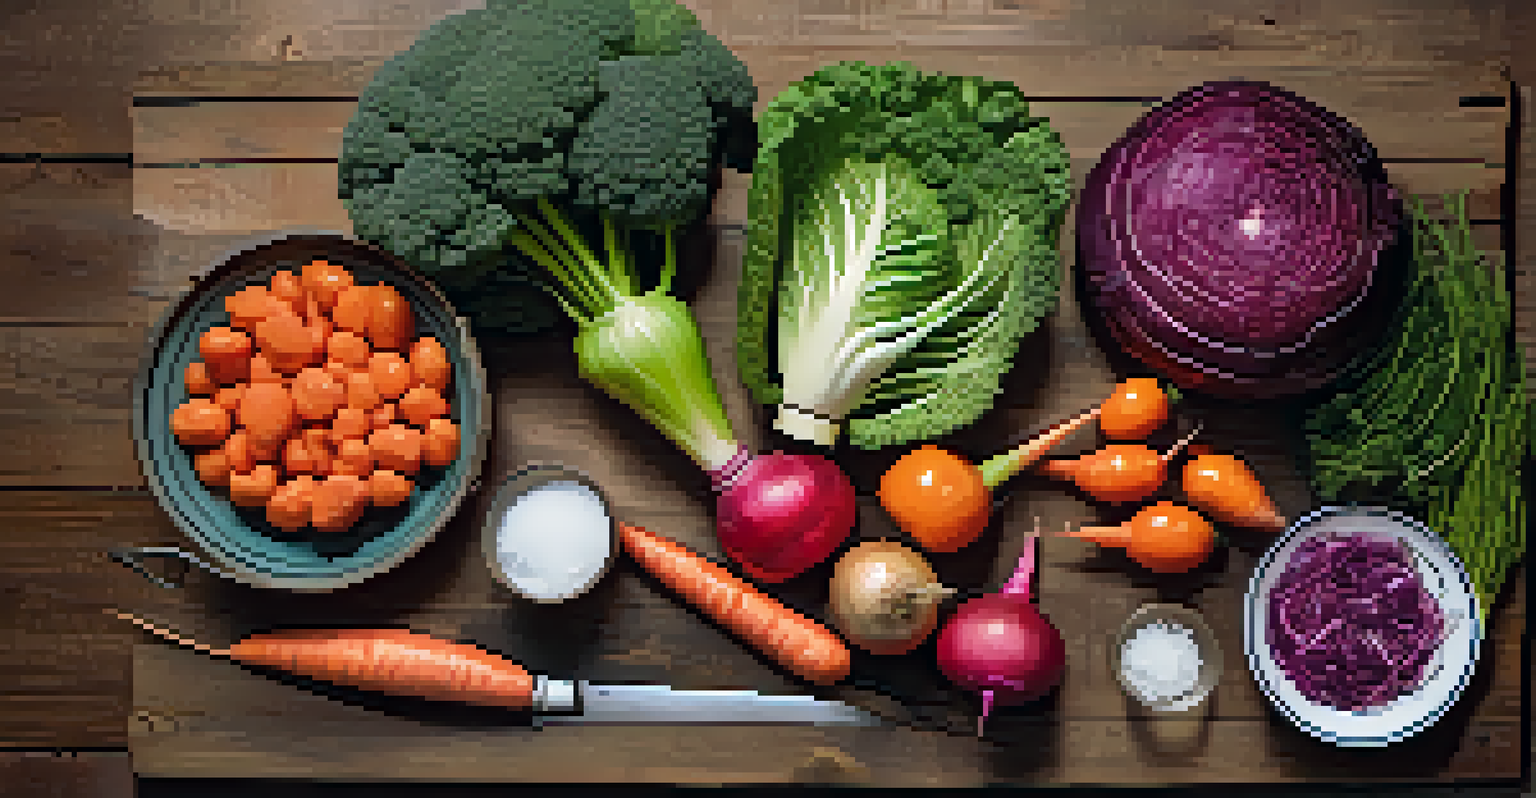
You can also experiment with more adventurous options like beets, cucumbers, and even green beans. The key is to use fresh, high-quality produce because the better the vegetables, the tastier the end result. Think of it like choosing ingredients for a gourmet meal; quality really does matter.
Don’t hesitate to mix and match! Creating your own unique blends can lead to exciting flavors and discoveries. Similarly, if you have a garden, you can use seasonal vegetables to make your ferments even more vibrant and diverse.
The Fermentation Process: Step-by-Step
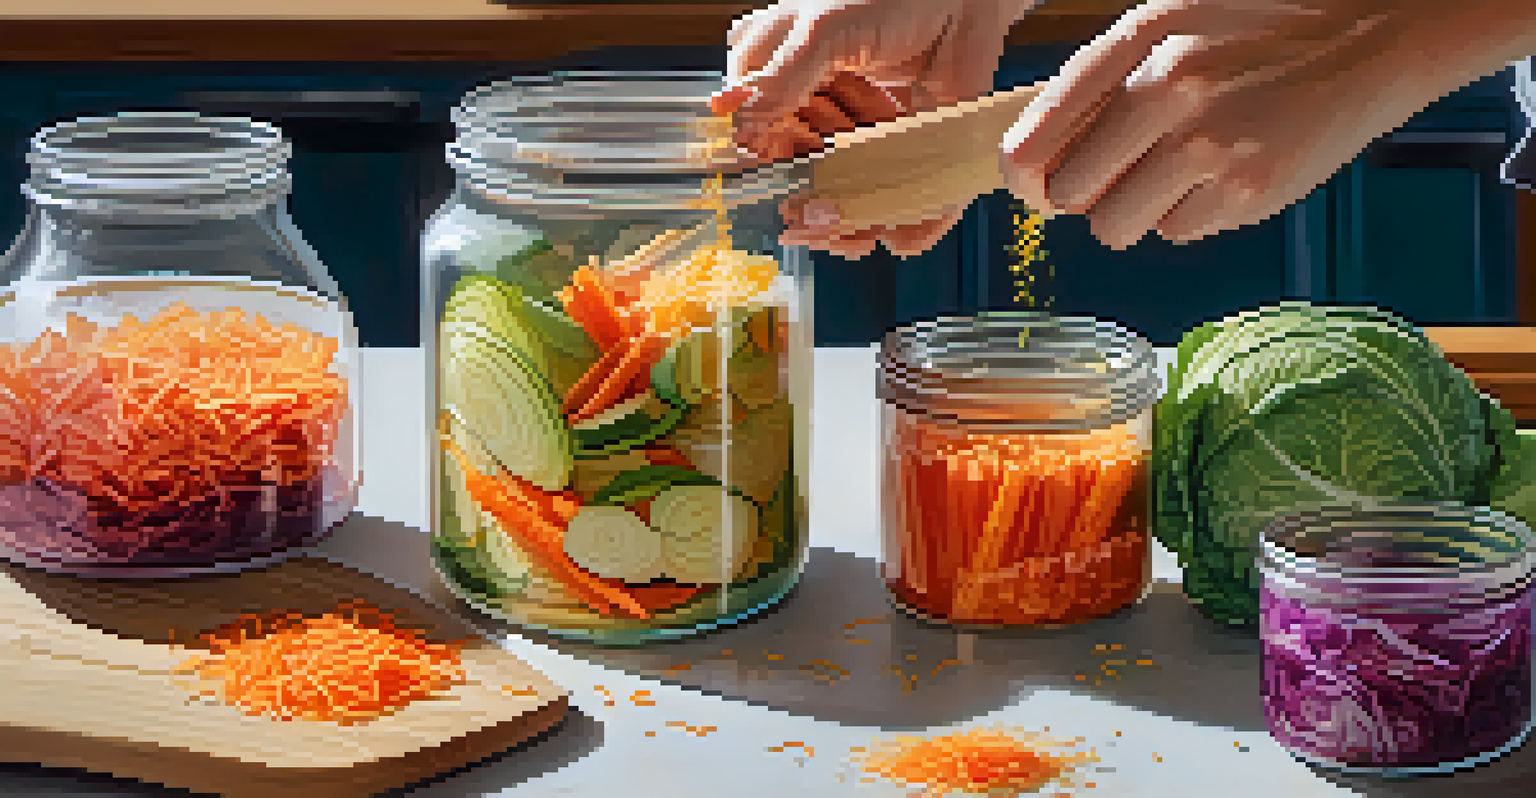
Starting the fermentation process is easier than you might think. First, prepare your vegetables by washing and cutting them into the desired size. Then, you’ll want to create a brine—a simple mixture of water and salt. The salt not only flavors the veggies but also draws out moisture, helping to create the environment for fermentation.
Once you have your brine, pack your veggies tightly into your jar, leaving some space at the top. Pour the brine over the veggies until they’re fully submerged. If needed, use a weight to keep them down, and seal or cover the jar to protect it from air and pests. This is where the magic begins!
Essential Tools for Home Fermentation
Gathering basic equipment like jars and weights is crucial for creating a safe environment for successful fermentation.
Let your jar sit at room temperature for about 1 to 4 weeks, depending on the temperature and your taste preferences. During this time, check in periodically to see how the fermentation is progressing. When it reaches your desired flavor, simply transfer it to the fridge to slow down the process and enjoy your homemade ferments!
Common Mistakes to Avoid When Fermenting
Even seasoned fermenters can make mistakes, so it’s essential to be aware of common pitfalls. One major error is not using enough salt in your brine, which can lead to spoilage rather than fermentation. Always follow a trusted recipe to ensure you get the salt ratio just right!
Another common mistake is not using clean equipment. Contaminants can easily spoil your batch, so make sure everything is thoroughly cleaned and sanitized before you start. It’s like starting a painting on a blank canvas; any smudge can throw off the entire artwork.
Lastly, don’t rush the process! Fermentation takes time, and each batch may vary. If you’re impatient, you might end up with underdeveloped flavors or even spoiled veggies. Trust the process—good things come to those who wait!
Flavoring Your Ferments: Adding Extra Zing
Once you’ve mastered the basics, why not add some flair to your ferments? Adding spices, herbs, or even garlic can elevate the flavor of your vegetables to new heights. For instance, a bit of dill with cucumbers can create a delightful dill pickle experience right at home!
You can also experiment with different flavor profiles by incorporating things like chili flakes for heat or ginger for a zesty twist. The beauty of fermenting at home is that you get to be the chef; don’t be afraid to play around with ingredients until you find your perfect blend.
Explore Unique Flavors in Ferments
Experimenting with spices, herbs, and fresh produce allows you to create personalized, flavorful fermented dishes.
Remember to jot down your experiments, so you can recreate your favorites in the future. Fermenting is like writing a recipe book—each batch can tell a story and become a delicious part of your culinary journey.
Storing and Using Your Fermented Vegetables
Once your vegetables have fermented to perfection, the next step is storage. Keep your jars in the fridge, where the cooler temperature will slow down the fermentation process. This helps maintain the crispness and flavor of your veggies for longer, allowing you to enjoy your creations over time.
Fermented vegetables can be enjoyed in countless ways. Toss them into salads for an added crunch, blend them into smoothies for a probiotic boost, or serve them as a side dish to complement your meals. Their tangy flavor can make even the simplest dishes feel gourmet.
Don’t forget about sharing your homemade ferments with friends and family! It’s a fun way to introduce them to the world of fermentation and can spark some great conversations around food and health. Plus, who wouldn’t love receiving a jar of your delicious creations?