How to Make Vegetable Chips from Leftover Pieces at Home
Understanding the Benefits of Homemade Vegetable Chips
Making vegetable chips at home is not just fun; it's also a great way to reduce food waste. Instead of tossing out leftover vegetable peels, stems, and scraps, you can give them a flavorful second life. Plus, homemade chips allow you to control the ingredients, avoiding preservatives and excess salt often found in store-bought options.
Waste is a design flaw.
These chips are perfect for snacking or as a crunchy topping on salads and soups. Imagine enjoying a sprinkle of colorful, crispy vegetable chips over your dish, adding texture and visual appeal. This not only enhances your meals but also makes them healthier!
Moreover, the process of making chips is quite simple and adaptable. You can experiment with various seasonings and cooking methods, making each batch uniquely yours. Who knew that transforming leftovers could be this delightful?
Gathering Leftover Vegetables for Chips
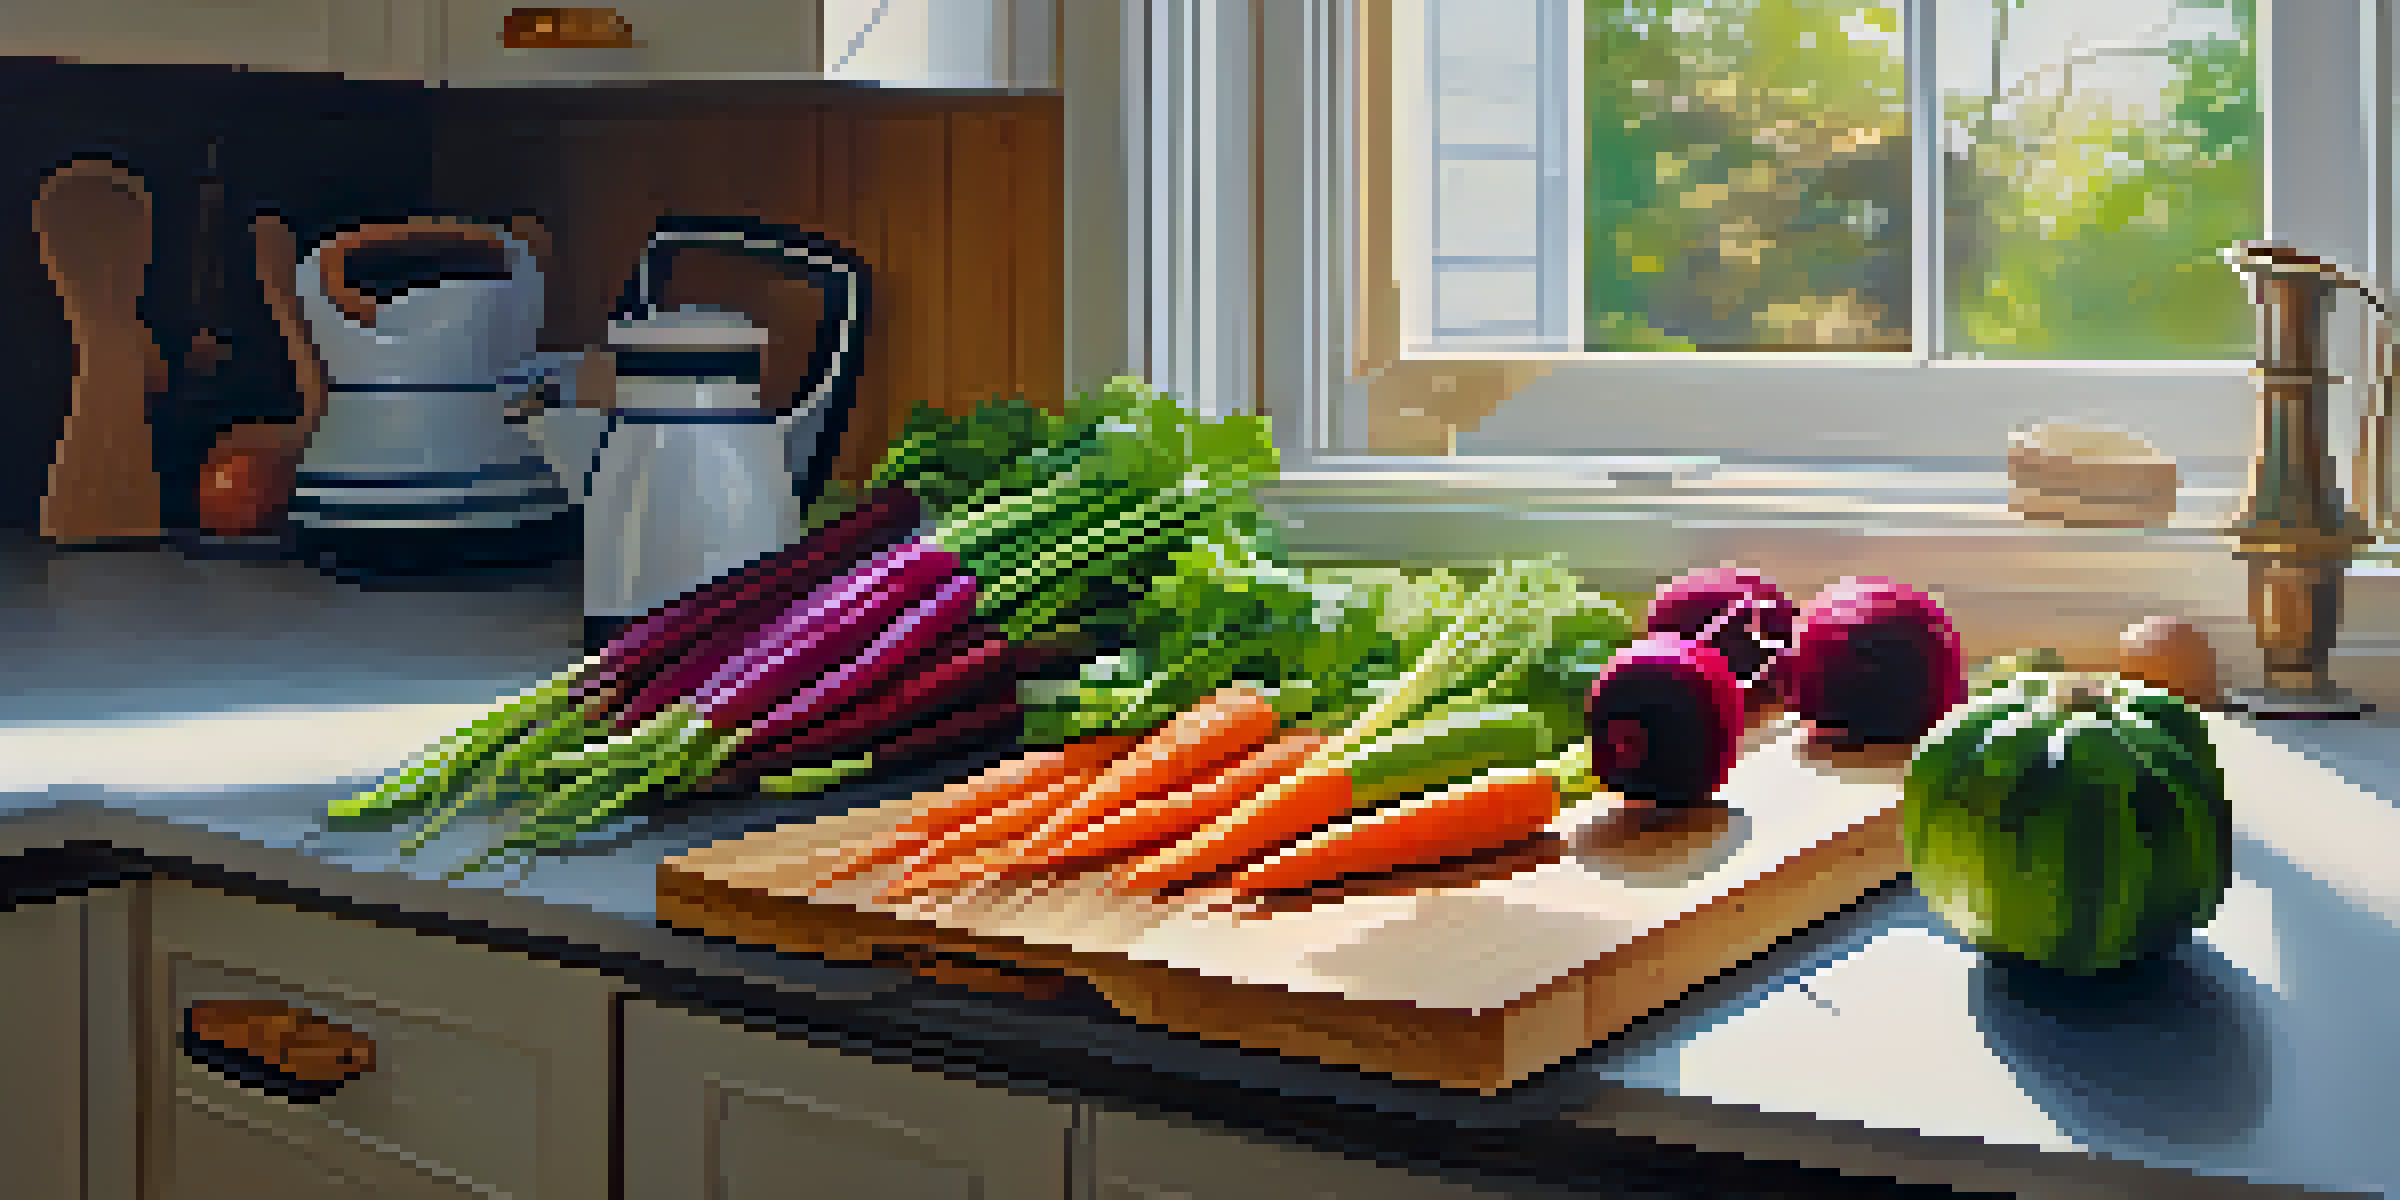
Before you dive into chip-making, take a look in your refrigerator. Common vegetables that work well for chips include carrots, beets, zucchini, and sweet potatoes. You can use peels, ends, or any bits that might typically be discarded, turning what would be waste into a tasty treat.
Don’t forget about herbs, too! Leftover herb stems can add a wonderful flavor to your chips. For example, thyme or rosemary stems can be tossed in for an aromatic twist that elevates the taste of your veggie chips.
Transform Leftovers into Snacks
Homemade vegetable chips allow you to use leftover peels and scraps, reducing food waste while creating a tasty treat.
The key is to be creative and resourceful. If you have a vegetable that’s slightly past its prime but still edible, it’s perfect for chips. Just remember to wash everything thoroughly before cooking!
Preparing Your Vegetables for Chip Making
Once you've gathered your leftovers, it's time to prep them for the oven or fryer. Start by washing and peeling your vegetables if necessary; you want them clean and ready for cooking. Use a sharp knife or a mandoline slicer to cut them into thin, even pieces, ensuring they cook uniformly.
The best way to predict the future is to create it.
If you’re using tougher vegetables like carrots or beets, you may want to slice them thinner to help them crisp up better. The goal is to have pieces that are not too thick, as thicker slices will take longer to cook and can end up chewy rather than crispy.
After slicing, pat them dry with a paper towel to remove excess moisture. This step is crucial because moisture can prevent your chips from achieving that delightful crunch you’re aiming for.
Choosing the Right Cooking Method for Chips
There are several ways to cook your vegetable chips, each yielding a different texture and flavor. The most popular methods are baking and frying, but you can also use an air fryer if you have one. Baking is a healthier option that allows you to achieve a nice crisp with less oil.
If you decide to bake, preheat your oven to around 375°F (190°C) and spread the vegetable slices in a single layer on a baking sheet. For frying, heat oil in a deep pan and carefully add the slices until golden brown. Just remember to avoid overcrowding the pan to ensure even cooking.
Customize Cooking and Seasoning
You can experiment with various cooking methods and seasonings to create uniquely flavored vegetable chips tailored to your taste.
Experimenting with different methods will help you find your preferred way to make chips. Each method brings out unique flavors and textures, so don’t hesitate to try them all!
Seasoning Your Vegetable Chips for Maximum Flavor
Seasoning is where you can really get creative with your vegetable chips! Start with a sprinkle of salt, but don’t stop there—try adding garlic powder, paprika, or even nutritional yeast for a cheesy flavor. The possibilities are endless, so feel free to mix and match your favorite spices.
If you enjoy a little heat, consider adding cayenne pepper or chili flakes. For a sweeter chip, a sprinkle of cinnamon can do wonders, especially on root vegetables like sweet potatoes. Just remember to season lightly first; you can always add more later!
After seasoning, give your vegetable slices a toss in a bowl to ensure every piece is coated evenly. This small step can make a huge difference in taste, turning your chips into a flavor-packed snack.
Storing Your Homemade Vegetable Chips
Once your vegetable chips are cooked and cooled, it’s important to store them properly to maintain their crispness. Place them in an airtight container at room temperature, where they can stay fresh for several days. However, if you live in a humid area, it might be best to consume them sooner.
Avoid storing chips in the fridge, as the moisture can make them soggy. If you’ve made a large batch, consider vacuum-sealing them for even longer storage. This helps to keep out air and moisture, ensuring your chips stay crispy for weeks.
Proper Storage Keeps Chips Fresh
Storing your vegetable chips in an airtight container at room temperature helps maintain their crispness for several days.
If you notice that your chips have lost their crunch, you can always re-crisp them in the oven for a few minutes. Just keep an eye on them to avoid burning, and enjoy your revived snack!
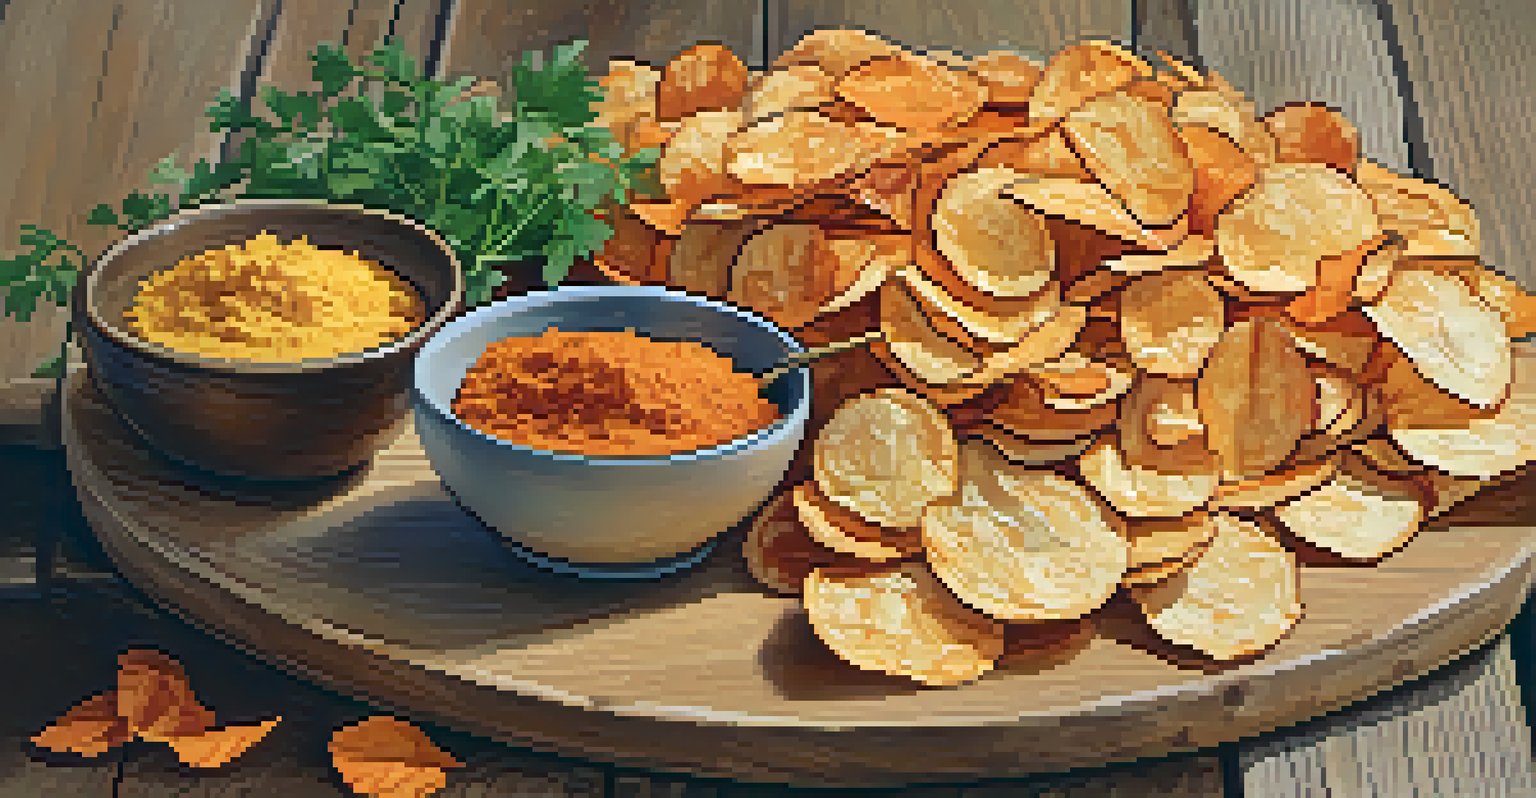
Enjoying Your Vegetable Chips: Creative Serving Ideas
Now that you’ve made your flavorful vegetable chips, it’s time to enjoy them! They make a perfect snack on their own, but you can also get creative with how you serve them. Try pairing your chips with a dip, such as hummus, guacamole, or a yogurt-based sauce to enhance the experience.
For a fun twist, consider using your vegetable chips as a garnish for soups or salads. Their crunch adds a delightful contrast to softer textures, making your meals more interesting. Plus, it’s a great way to impress guests with your culinary creativity!

Don’t forget to share your chip-making adventure with friends and family. They might just be inspired to transform their leftovers into a healthy and delicious snack too!